I could easily talk about my work for hours and tell you all kinds of stories.
But, for the sake of brevity, just a short summary of how the relief prints you see on this site are made. I’ve focused the following on my landscape prints, which currently make up the largest part of my portfolio.
The internal made external.
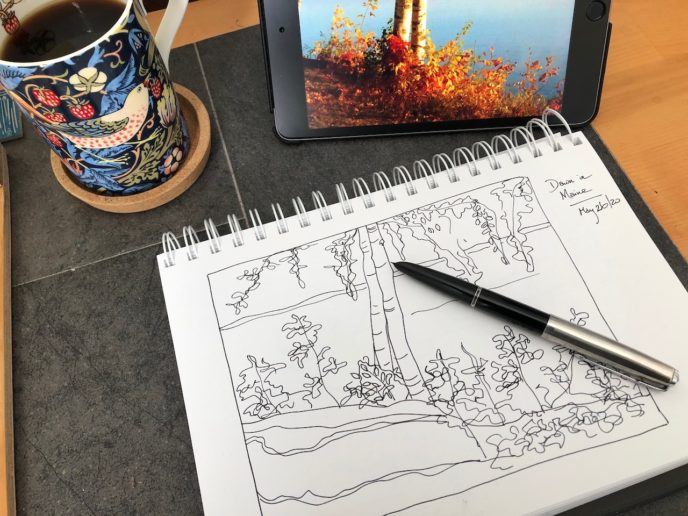
Each of my prints begins as the fragment of an idea captured by a sketch. The sketch draws on memories of a physical place I experienced and the emotions I felt while there.
I work in India ink, with a fountain pen that once belonged to my dad – a brilliant abstract artist. My dad is gone, but using his pen to sketch out out my ideas connects me to him in my mind.
Working in ink also keeps my sketches more immediate and loose. Details come later, once I’m ready to trace the sketch to my block of Lino.
Working Out Colours
For the colour-planning stage I use my iPad and Procreate.
Procreate is invaluable to me because I can draw each colour on a separate layer, move the layers around, and play with transparencies, simulating the actual printing I’ll do by hand. And, the contrast between working digitally and the very hands-on process of actually making my reduction prints, is something that really appeals to me. It’s a perfect marriage of the traditional and contemporary.
Hand's On
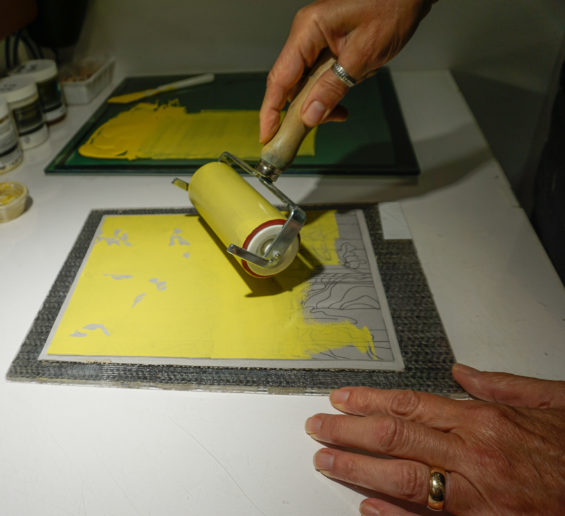
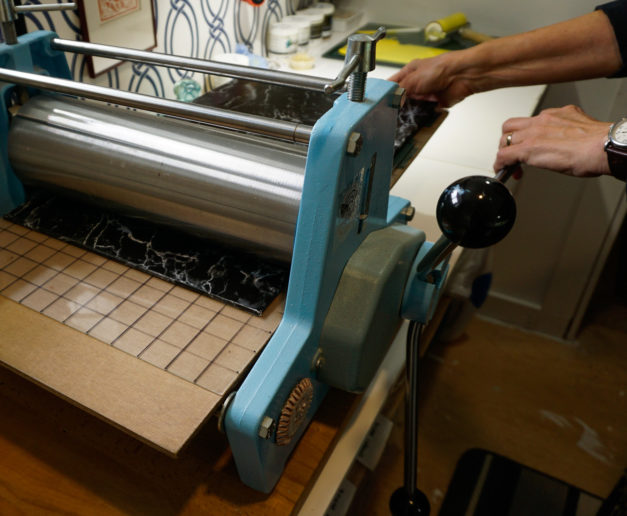
Despite my incorporation of technology into my workflow, it’s the hands-on aspect of printmaking that keeps it vital for me: my hands carving out the image for each print, mixing and rolling the ink onto the plate, and spinning the handles of my etching press to pull the press bed through.
Reductive Printmaking
All the prints shown on this site are reduction relief prints: a single block of lino is used to print the entire print.
Each layer/colour is carved and printed separately, sections of the block gradually carved away, or reduced, prior to the printing of each new layer/colour. Ultimately, the more the print nears completion, the less of the block remains. It takes a lot of planning to decide on the order in which specific sections of each print will be printed.
Picasso, sometimes erroneously credited as the inventor of this method, referred to reduction prints as suicide prints. This is likely because if you decide you don’t like the way a print is turning out on the way to completion, there’s no going back to make changes and to reprint parts of the block carved away earlier. It’s either live with it or start over from the beginning. And yet, it’s precisely the challenge of this method that I, and other the printmakers who make reduction prints, love.
For me, each print is an adrenaline rush.
The Making of a Print
To give you a clearer idea of the reductive print process, the images below show some, but not all, of the stages for my print: Colours of New England.
This was one of the most complex and challenging prints I’ve worked on and involved the use of a several masks and selective ink application.
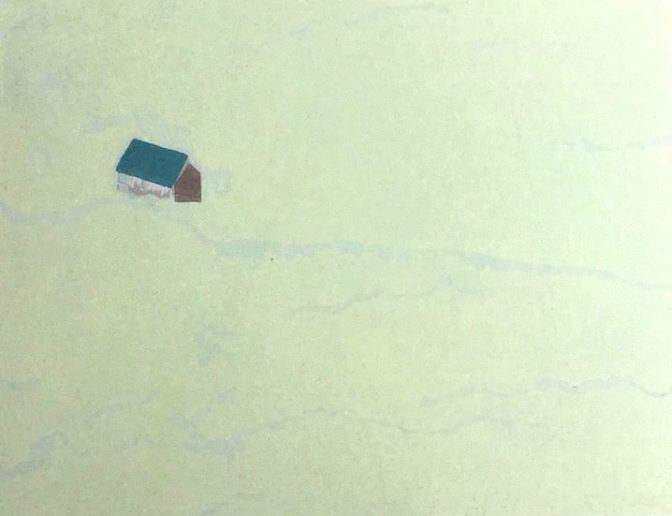
This image shows the print with its first 3 layers of colour (beige, pale green, and grey-green) and two accent colours printed.
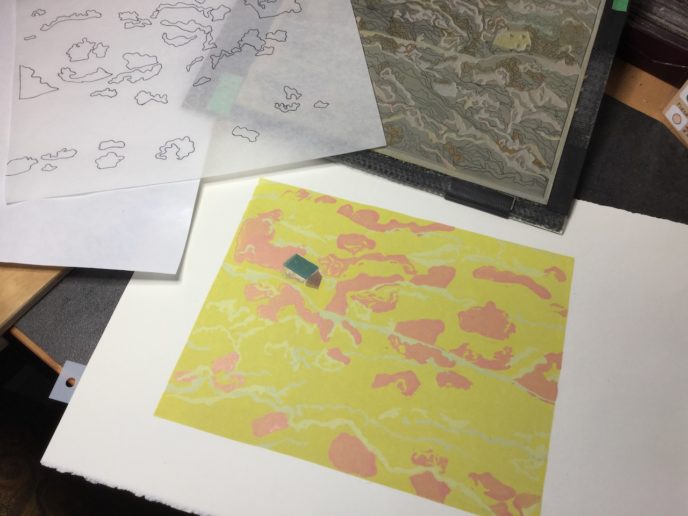
The print with layer 4 and 5 (yellow & pink) added. I used the mask in the top left corner of this photo to print the pink layer.
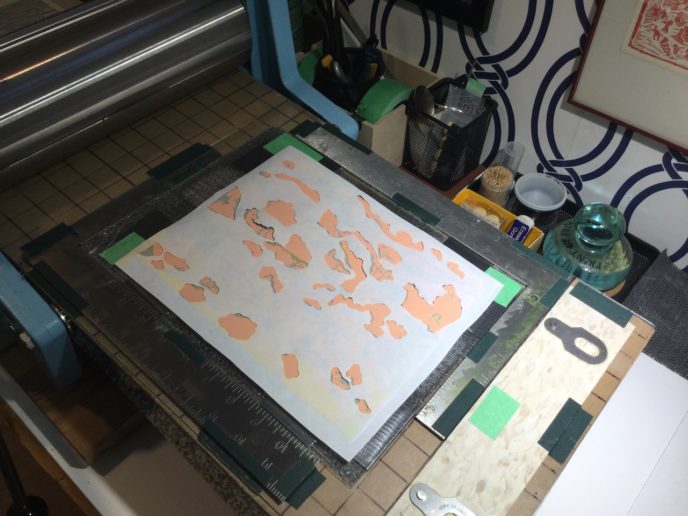
This is what the mask for the pink layer looked like on the block and on the press bed.
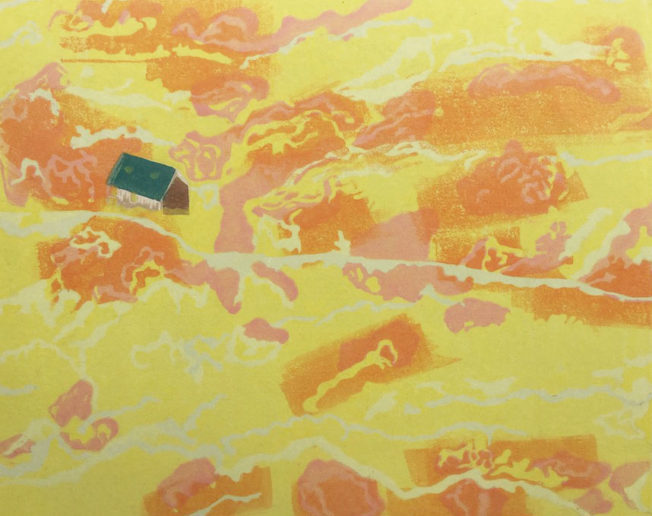
Layer 6 (orange), was also printed with a mask.
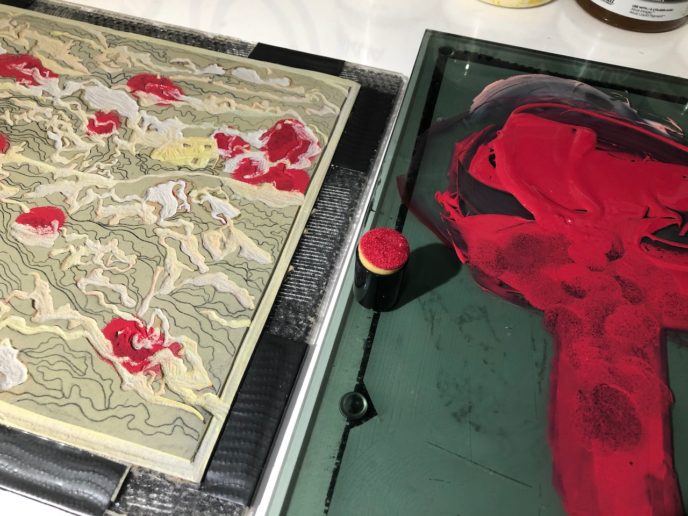
For layer 7 (crimson), instead of another mask, I used a stencilling dauber to ink select areas of the block.
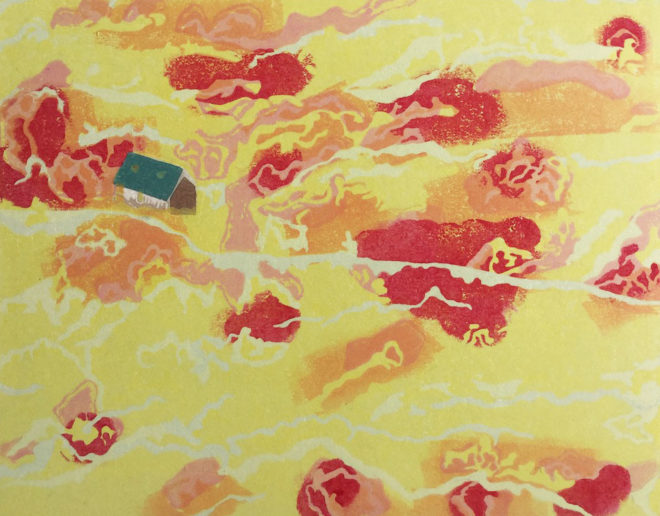
Layer 7, printed.
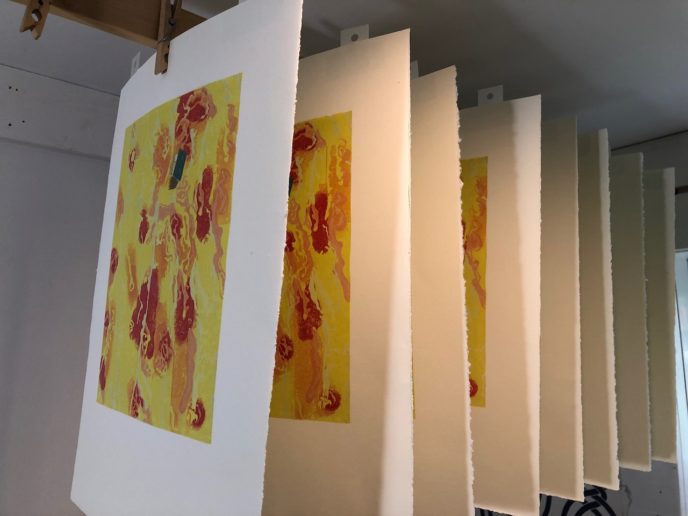
As the ink layers start building up, the print needs to dry between each colour addition.
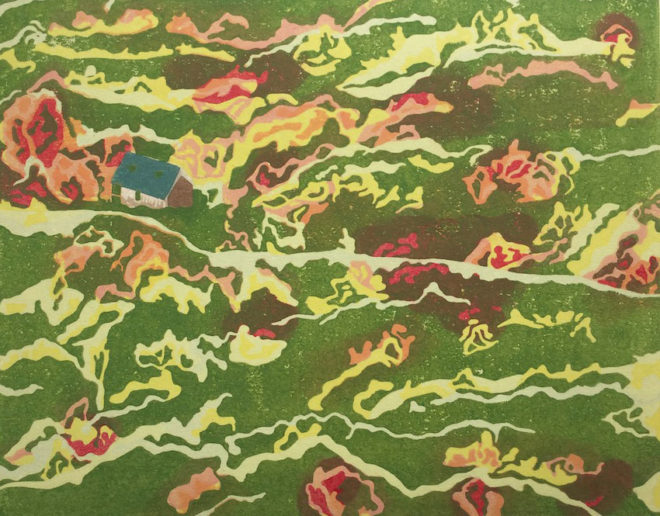
Layer 8 (spring green).
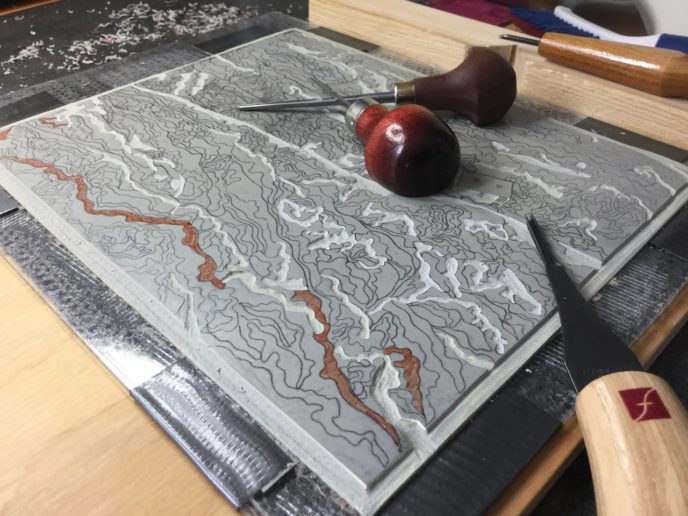
Carving the block for layer 9. The brown areas indicate sections still to be carved out. In this case, because of the masks I used to print the earlier layers, the block is still fairly intact.
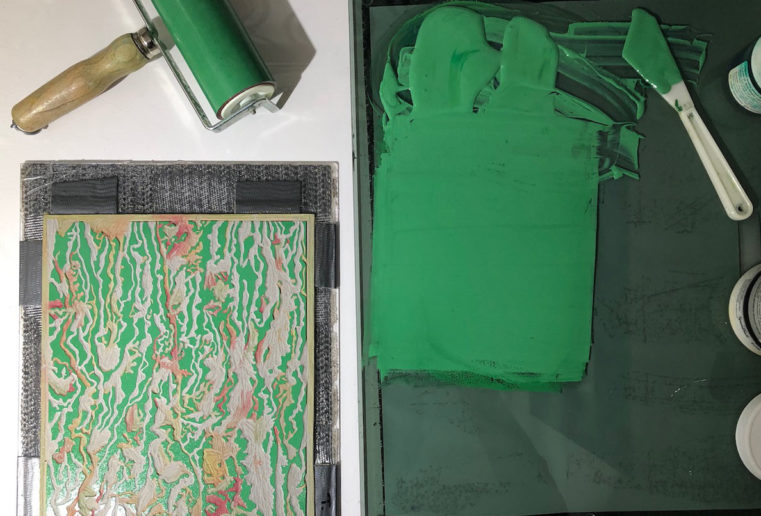
A second green mixed and the block rolled up for layer 9.
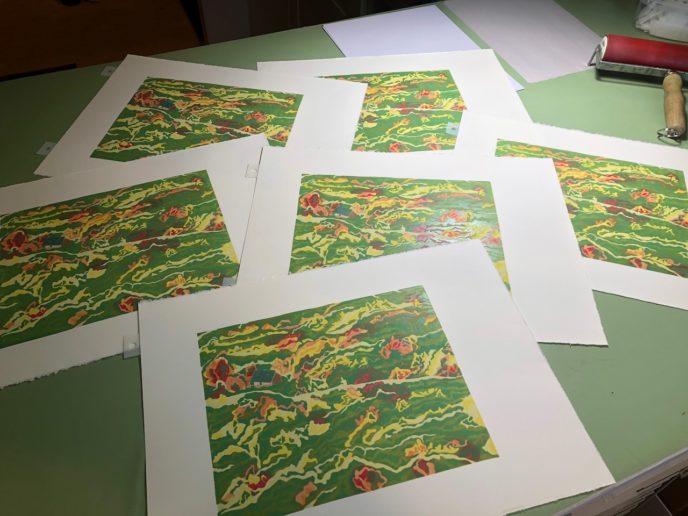
Nearing the finish line; Layer 9 printed.
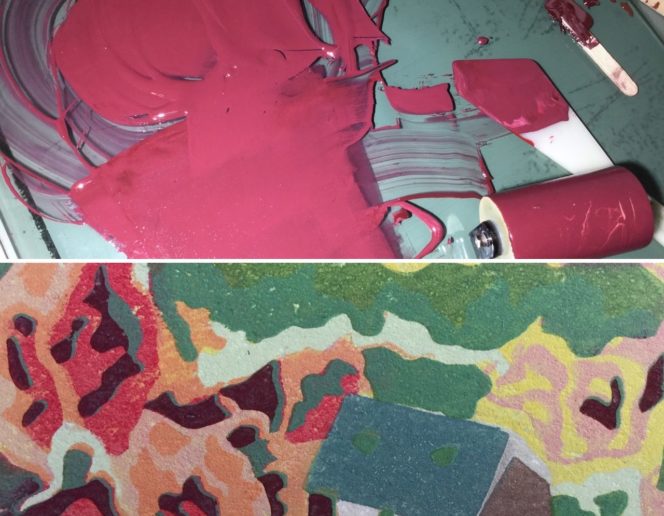
The last two colours, Layers 10 & 11, were a dark crimson and a medium brown (not shown). Often inks looks lighter on the roll-out plate than it does printed.
The Finished Print
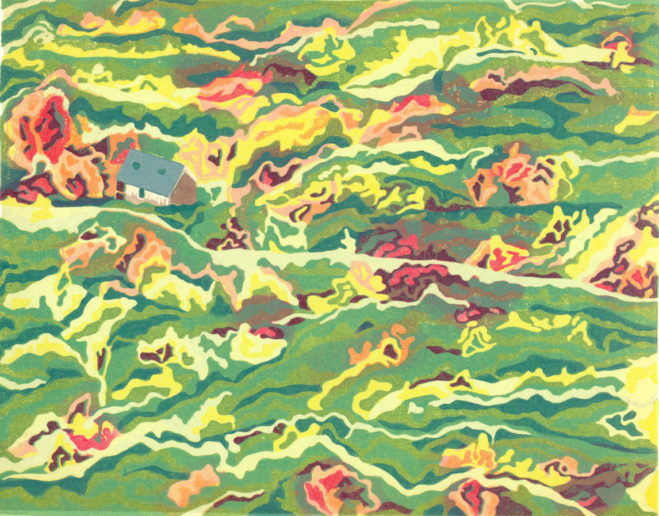
I hope you enjoyed this glimpse into how reduction prints are made. If you have any questions or comments, feel free to get in touch.
You can also see more process pictures on my Instagram page.
